--
Sent with Genius Scan for iOS.
https://dl.tglapp.com/genius-scan

Monday, December 18, 2023
Saturday, November 16, 2013
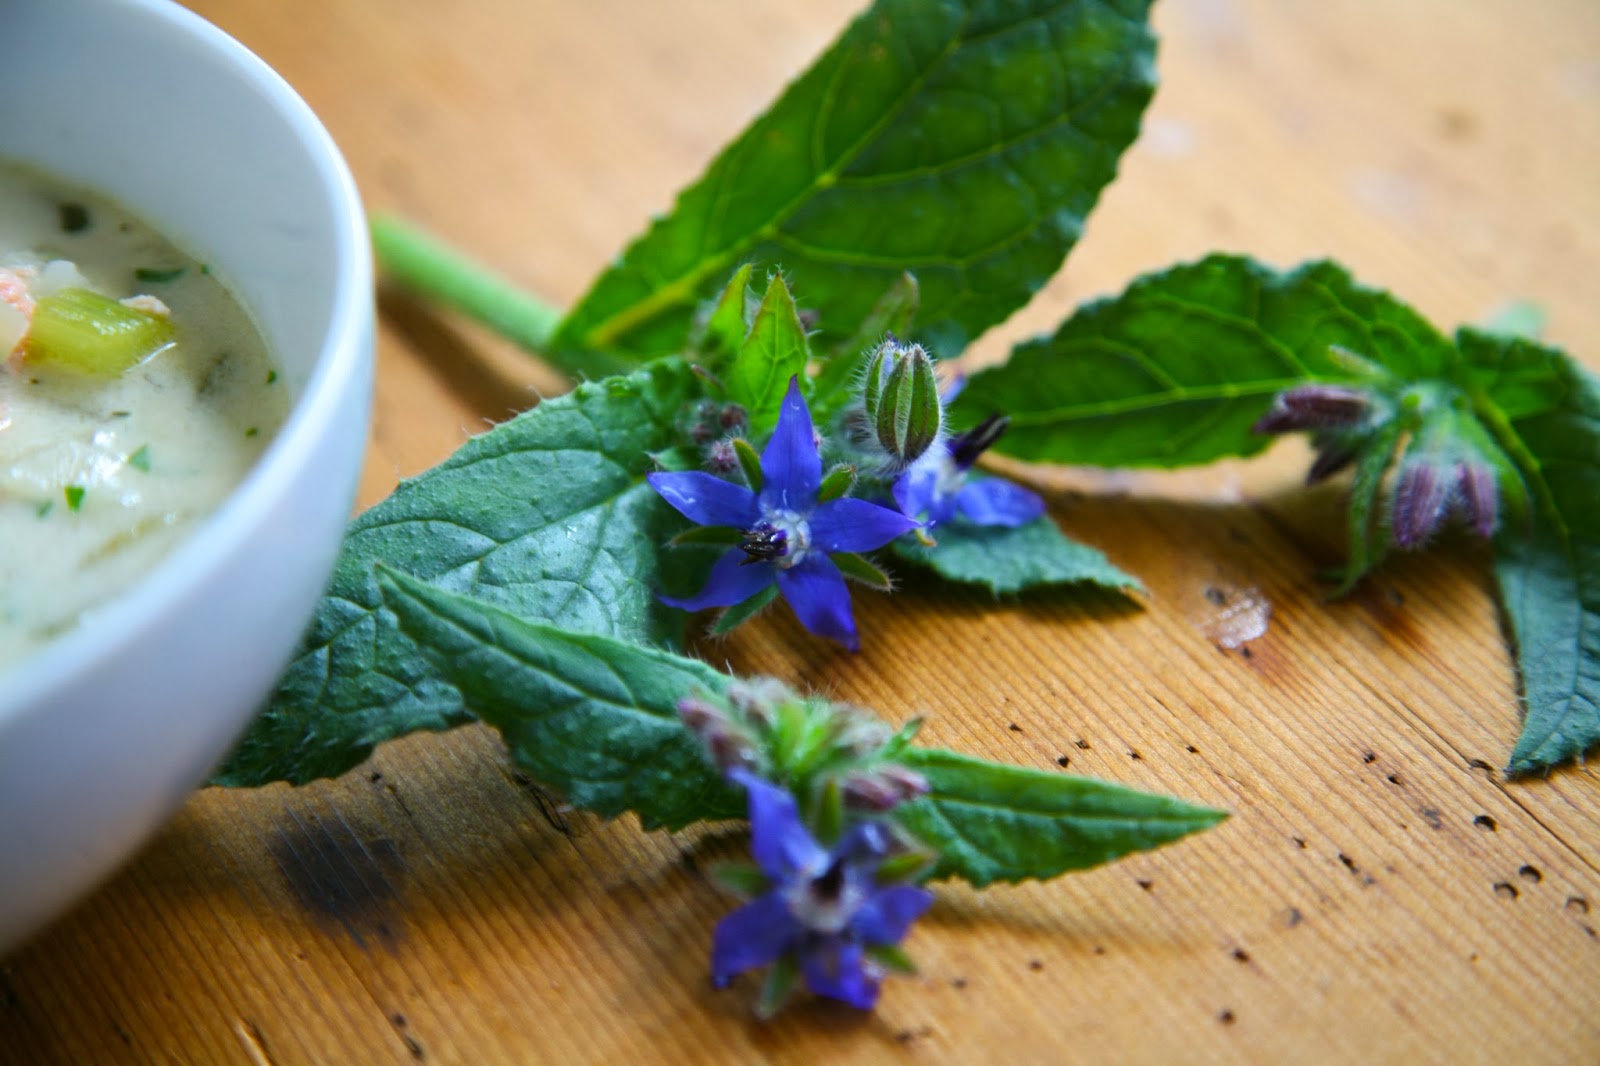
Salmon Chowder With Borage Flowers
It is well into fall; the trees are almost bare and the last leaves will be whisked away with the next winds. The air smells crispy and has a bit of a damp bite. Winter is just around the corner and I have comfort food on the brain. Rich, warm, high in calorie food that makes me feel like I've been wrapped in a blanket of love. Soup sounds good. Soup with salmon, potatoes, onions, cayenne pepper for a touch of heat and of course, don't forget the cream!


The borage that I planted last year reseeded itself in a few of the garden beds and some of the plants are still producing these beautiful blue flowers that have a slight cucumber taste making a bright and tasty garnish for this comforting dish.

Salmon Chowder Recipe
6 servings
3/4 lb salmon, skin removed and cut into 1/2" cubes
1 onion small dice
2 cloves of garlic minced
2 stalks celery small dice
2 tsp salt
pinch of pepper
1 large potato, peeled and cut into 1/2" cubes
1 tsp fresh thyme chopped
1/4 tsp cayenne pepper
1/4 C white wine
1 1/2 C water
1/2 C cream
1 C clam juice
1 bay leaf
1 Tbls lemon juice
1/8 C fresh parsley minced
Sauté onion, garlic, celery, pepper and salt for about 6 minutes. Add the potato and continue sautéing for a few more minutes. Add the wine, thyme, cayenne, bay leaf, and water. Bring the soup to a boil, then reduce the heat and simmer until the potatoes are tender, about 15 minutes. Add the salmon, cream, lemon juice and parsley then turn the heat off. Let the soup sit for 5 minutes and the salmon will be cooked beautifully. Taste and add more salt and lemon juice as needed. Remove the bay leaf before serving.
Super simple and so delicious!
This post is included in Foodie Friday and Tasty Traditions.
Wednesday, October 23, 2013
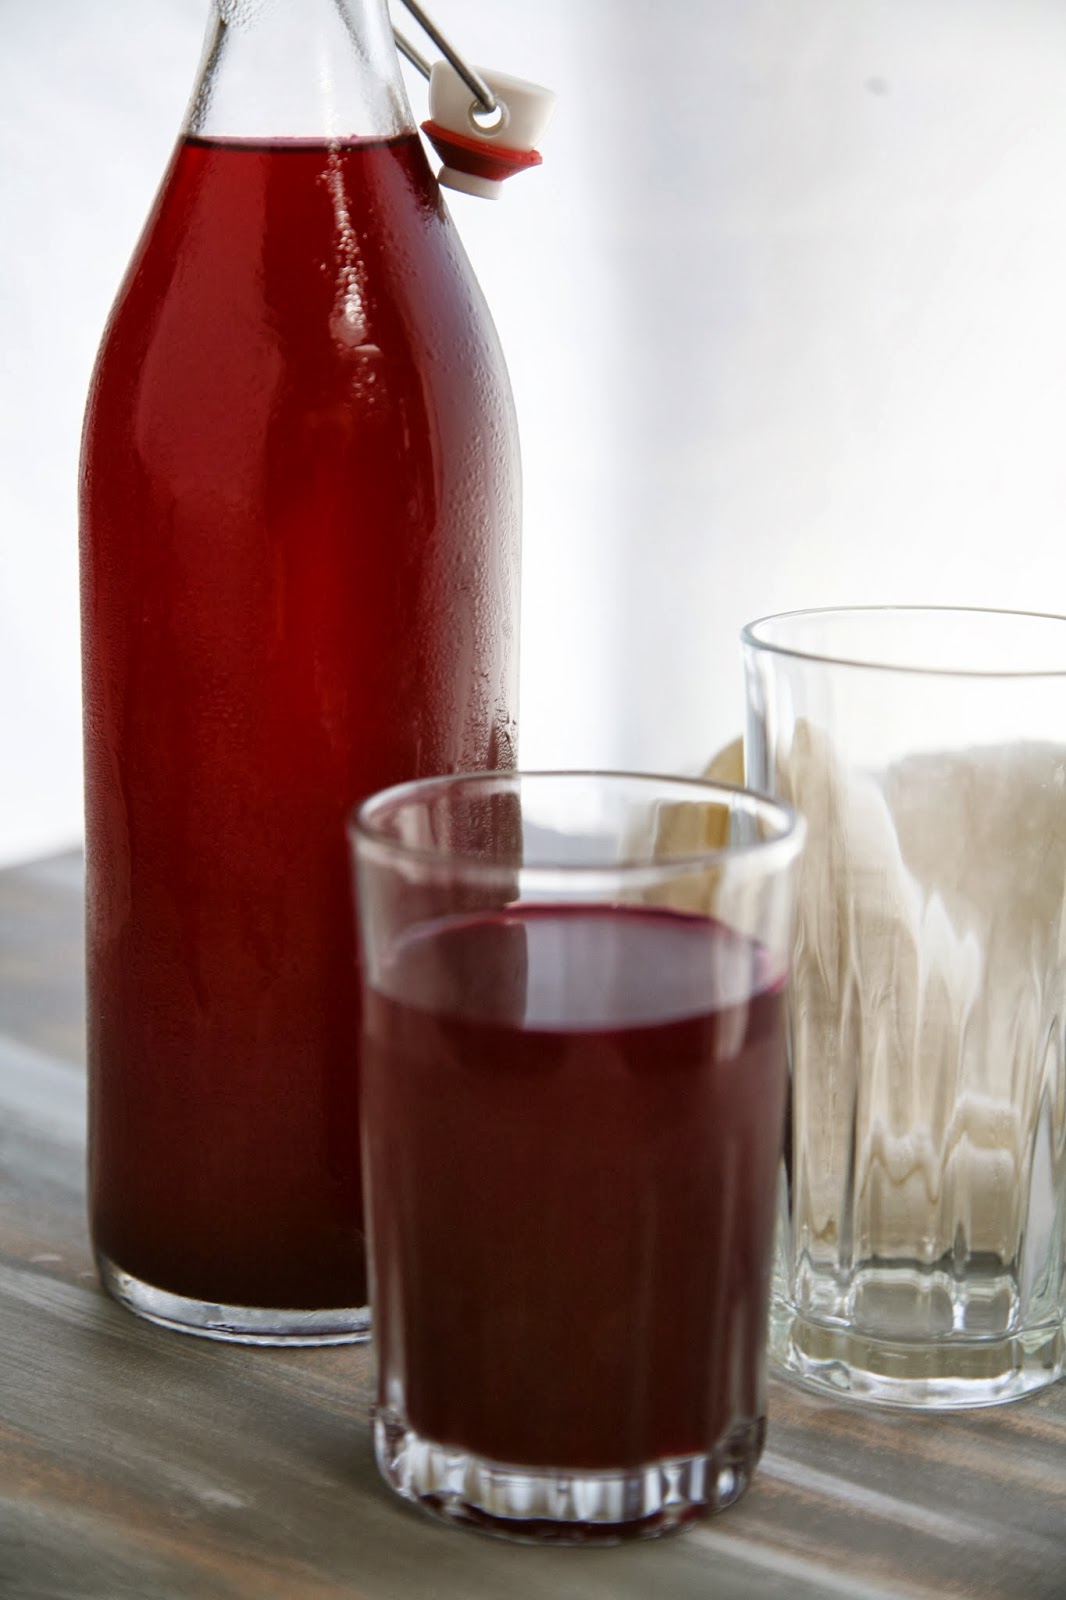
Beet Kvass Recipe
This summer and fall I've been growing Red Ace and Touchstone Gold beets. I love beets roasted with olive oil, salt, pomegranate molasses and a few herbs from the garden. They are also wonderful for making kvass, a fermented drink that provides many nutrients, probiotics and cleansing properties to keep a body healthy.
Kvass has an earthy, salty, tangy flavor with a slight hint of sweetness. Then of course, the deep jewel-toned magenta color really appeals to me! Kvass is extremely easy to make and needs just a few ingredients.

Beet Kvass Recipe
1 gallon container with loose fitting lid
550 grams/1.5 lbs beets peeled and cut into 1/2" cubes
1 T salt sea salt
1/4 C whey - you can drain the whey off plain yogurt or use a packet of kefir starter culture
6 1/2 C filtered water
Place all the ingredients into the gallon container and give it a gentle stir. Place the lid on and let it sit at room temperature for a week. Little bubbles will start to form as the fermentation takes place and you might notice a film forming on the surface of the liquid. Use a slotted spoon to gently remove the film. At the end of a 7 days, strain the kvass from the beets and pour into storage containers. Save the beets and 1 cup of kvass to use for one more fermentation cycle.

I enjoy my kvass chilled and drink a 6oz glass in the morning and a one in the evening. I also mix it with mineral water to give it some bubbles.
Wednesday, May 15, 2013
Copper Foil Slug Barrier
 |
| Lemon cucumber starts |
But wait, there are still the slug predators to contend with before the fantastic harvest part. Those soft, slim, moisture loving creatures will feast on tender seedlings and can destroy crops of vegetables in a night. I have used Sluggo which seems to work very well but it is spendy and needs to be applied regularly to be effective. This year I'm trying a different approach with the idea that I will have to exert as little energy and expense as possible.
Start with a five gallon bucket and use a hand saw cut it into rings that are about three inches in depth. Remove any burrs left on the edges and then apply a sticky backed copper tape. To keep the tape from sticking to itself or becoming tangled, remove the paper backing just as you place the tape on the ring. I found the copper tape at several of my local hardware stores.

 |
| An old 5 gallon bucket |
 |
| Be careful when cutting the plastic it's a soft material. |
Start with a five gallon bucket and use a hand saw cut it into rings that are about three inches in depth. Remove any burrs left on the edges and then apply a sticky backed copper tape. To keep the tape from sticking to itself or becoming tangled, remove the paper backing just as you place the tape on the ring. I found the copper tape at several of my local hardware stores.
 |
| The adhesive readily sticks to the plastic. |

Place the rings in the garden and plant your seeds or seedings in the center. So far the slug barrier rings are doing a great job at keeping the veggie eating pests away and are also helpful with keeping the water localized around the plant when watering. Two good things for the price of one!
 |
| Eight Ball zucchini |
This post is shared on Simple Lives Thursday.
Thursday, April 18, 2013
yogurt with poached rhubarb and almonds
Yogurt is one of those foods that is satisfying any time of the day. It can be used in many sweet or savory dishes adding a rich tangy creaminess to everything. In my house we make yogurt several times a month and use it in smoothies, eat it with nuts, honey and fruit, and add it to blanched spinach for making borani.
This yogurt dish was inspired by the spring rhubarb plants in my garden that up until now I've had to leave alone to develop roots properly. Poaching these new spring stalks in a simple syrup with some aromatic orange peel and a vanilla bean makes a wonderful accompanyment when mixed with fresh yogurt. I had wanted to make a rhubarb strawberry pie but we don't have strawberries yet so that will be a story for another time.
Pour 115 degree water in the incubator and place the milk container in the water.
Then you get yogurt!
Poached rhubarb recipe:
This yogurt dish was inspired by the spring rhubarb plants in my garden that up until now I've had to leave alone to develop roots properly. Poaching these new spring stalks in a simple syrup with some aromatic orange peel and a vanilla bean makes a wonderful accompanyment when mixed with fresh yogurt. I had wanted to make a rhubarb strawberry pie but we don't have strawberries yet so that will be a story for another time.
 |
| For crunchiness add toasted nuts and for a little more flavor add a little of the sweet poaching liquid. |
Yogurt is really very easy to make, so good eat and has the added health benefit of live cultures to help keep you healthy. I like to make yogurt two quarts at a time using a yogurt maker with a water bath incubator, that way I know the incubating temperature with stay constant no matter how cold the temperature of my kitchen.
Here is the recipe:
Slowly bring milk up to 180 degrees Fahrenheit, the slow heating keeps the milk proteins from combining to make the milk grainy.
Let the milk cool to 120 degrees.
 |
| Use whole milk for richness |
Add 1 tablespoon of room temperature yogurt culture for each quart of milk and whisk until combined.
 |
| I use plain Greek Gods Yogurt as a culture. |
Pour 115 degree water in the incubator and place the milk container in the water.
 |
| The milk container sits in a water bath. |
Cover and keep warm for about five hours or until set.
 |
| Plug this unit in to keep the water warm to promote milk fermentation. |
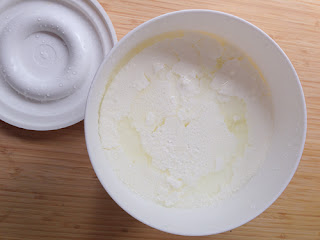
Then you get yogurt!

I like to hang the yogurt to let the whey drain out to get a thicker consistency. Then place the yogurt in a bowl and whisk until smooth. If you want, use the whey to braise or lacto-ferment vegetables and fruits or as a liquid substitute in baking.
 |
| Use a muslin bag or strainer for hanging yogurt |
Poached rhubarb recipe:
2 C rhubarb 1/2" pieces
1 C sugar
1/2 water
3 strips of orange peel about 11/2" wide each
1/2 vanilla bean and seeds
Place sugar, water orange peel and vanilla bean pod and seeds in a sauce pan. Bring to a boil then add rhubarb. Turn heat off and let the mixture sit for an hour and a half. Strain the rhubarb and keep in a covered container until read to use. Save the liquid for more poaching or drizzles a little on top of your yogurt.
Thursday, April 4, 2013
asparagus prosciutto egg and home made noodle sheets
Spring is here and so many good things are starting to happen in the garden. One of the first vegetables to popup out of hibernation is the asparagus and the hens are in full swing laying eggs. With these welcome taste of spring I was inspired to make this dish of asparagus with prosciutto, poached egg and home made noodle sheets.
This is really a simple combination of ingredients. The noodle sheets are made from a simple pasta dough and instead of cutting the dough into slender noodles, I cut them into small rectangles. Blanch the asparagus in a little salt water, poach an egg, add a little thinly sliced prosciutto and finish it off with olive oil, salt and pepper. Once you break open the egg, the yolk will add rich creaminess to these wonderful spring time flavors

For the pasta:
210g semolina flour
3 lg egg yolk room temp
1 lg egg room temp
1 tsp olive oli
11/2 Tbls water
Mix all ingredients and blend in a mixer with a paddle attachment for five minutes. Gather the dough together in a ball, cover with plastic wrap and let it rest for 30 minutes at room temperature. Roll the dough through a pasta machine or hand roll. Cut into 3 inch by 5 inch sheets. Cook for 4 to 5 minutes until tender.
For the asparagus:
Bring a pan of salted water to a boil and blanch asparagus until just tender. Remove from water and cool.
For the poached egg:
Bring a pan of water to a boil, turn heat off and gently drop an egg in the water. Cover and let cook for about 3 minutes. Remove egg with slotted spoon.
For the prosciutto:
A couple of slices of a delicious prosciutto
Assemble everything on a plate or in a bowl and enjoy!
Thursday, March 21, 2013
The Intelligent Gardner....Test Results and Amending
I first talked about the Intelligent Gardner here and had sent my soil samples off to Logan Labs for the analysis. Several day later, I received an email with an easy to read report of what each of my planting areas needed. The theory is that with the proper balance of minerals and salts you can create and environment that encourages soil symbiosis for everything from micro organisms to worms and insects that help grow nutrient dense food. Combine this with increasing disease resistance and you have a winning combo!
 |
| Soil Report From Logan Labs |
The report contains values of anions, cations, and trace elements. There are some calculations that need to be done to figure out the amendment prescriptions and those can either be done by hand or you buy the Soil Amendment Calculator for $10 that does all the number crunching in a matter of minutes. The easy to use calculator gave me the amendment recipes that look like this.
 |
| OrganiCalc Prescription Report |
I gathered all the elements and compounds I needed for amending and mixed a prescription for my ten growing areas on the property.
 |
| Spreadsheet of amendments |
I put all the results in a spreadsheet and then bought the ingredients by the pound. Since this is the first year of this remineralization process I am excited to see if all the fruits and vegetables taste better, grow more vigorously and are more resistant to diesese.
This post is also part of Simple Lives Thursday.
This post is also part of Simple Lives Thursday.
Thursday, March 7, 2013
Companion Planting an Update to Plays Well With Others
Companion planting is a good way to cultivate plants that compliment each other. Planting in this method helps enrich the soil, sustain beneficial insects that help pollination or reduce harmful pests, and it helps plants grow and produce to their full potential. I've updated my Plays Well With Others companion plants spread sheet which was originally posted here. I hope you find it helpful as you plan your gardens for this season!

This post is also a part of Simple Lives Thursday.
Subscribe to:
Posts (Atom)